
Material Atlas
This tutorial will explain how to do material atlases using the CATS Blender plugin. THIS ONLY WORKS ON BLENDER 5.0
UPDATE:CATS PUSHED A NEW UPDATE THAT BROKE THE GENERATE LIST, FIX IS DOWN IN THE END
This tutorial will explain how to do material atlases using the CATS Blender plugin. THIS ONLY WORKS ON BLENDER 5.0
Getting Started
First off what is a material atlas. A material atlas is combining multiple image files from your model into a single image, this is important for optimal body texture for your model insted of using the material override command.
First off, youre going to import your model, For this tutorial ill use my Mitsuru model
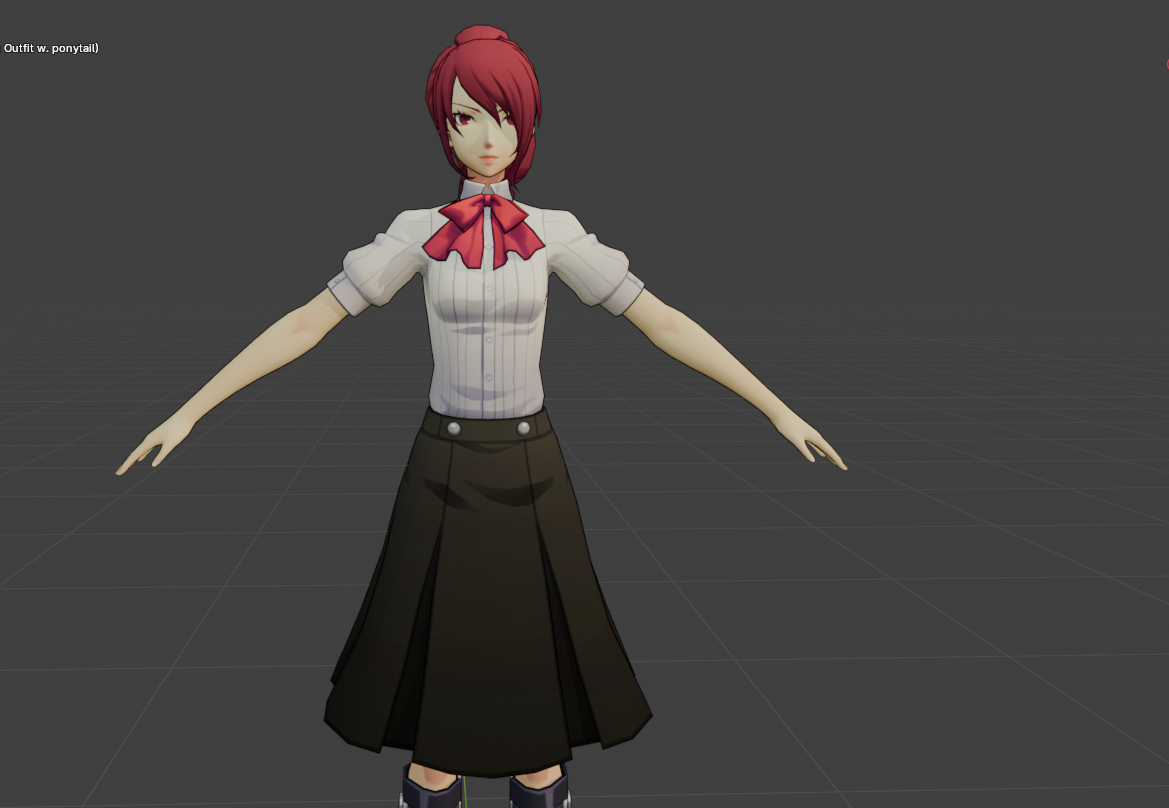
Very cute model, but what isnt cute is this list of materials
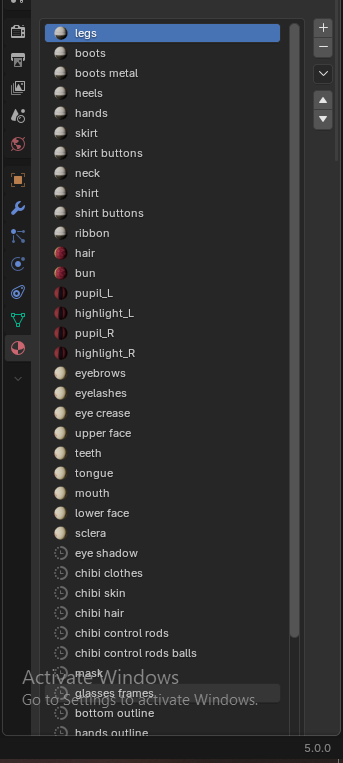
So disgusting and unless we wanna use the material override command this isnt good
How do we fix this using cats?
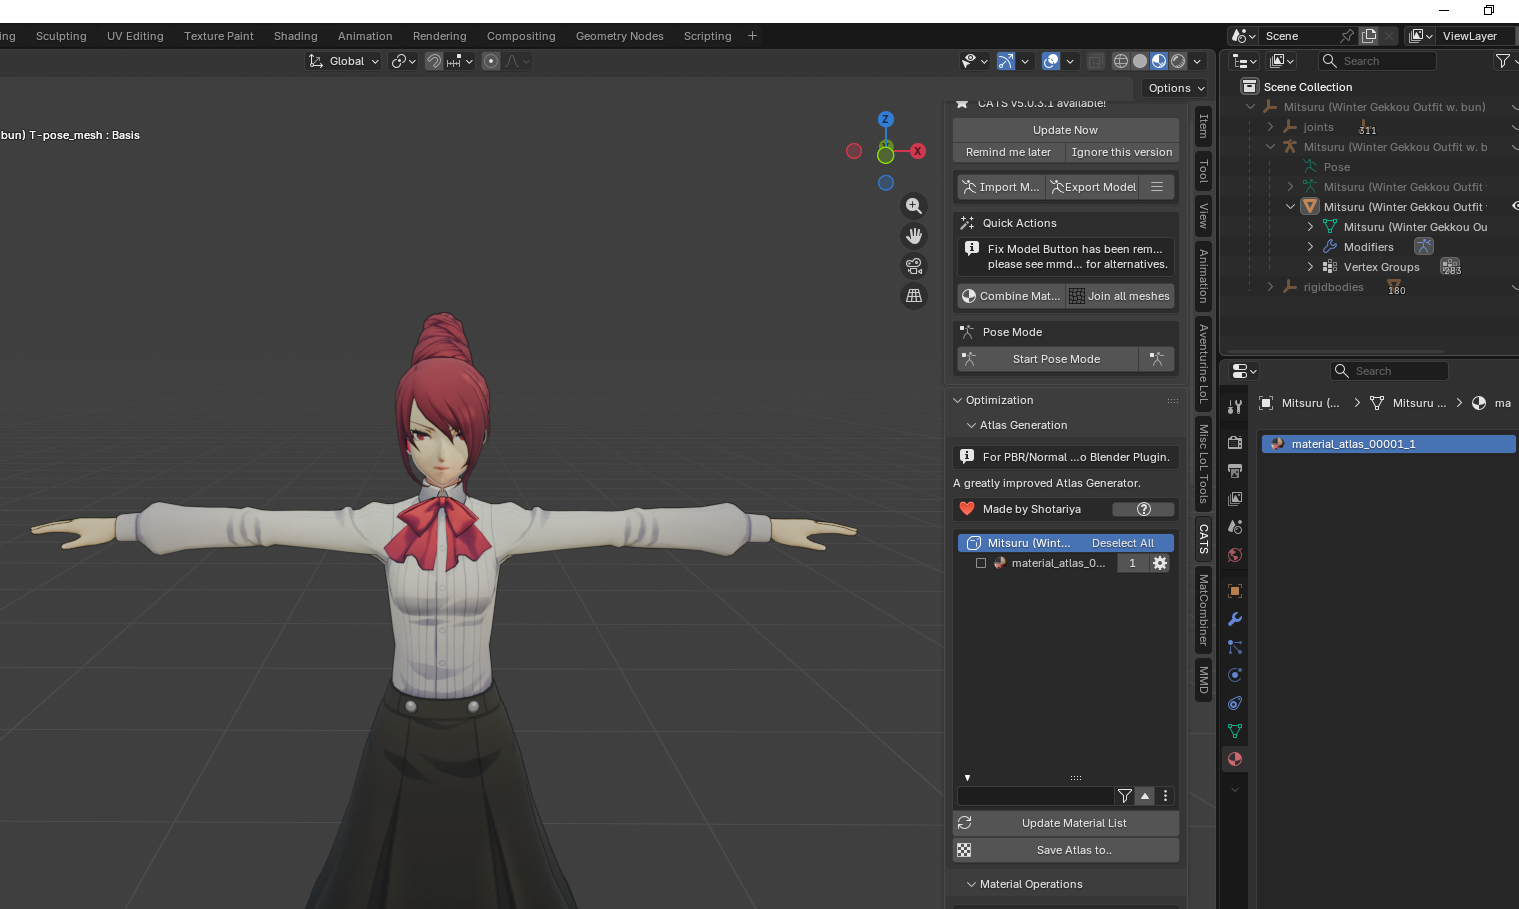
Press N on your keyboard to make the sidebar appear in blender
Then press CATS then GENERATE MATERIAL LIST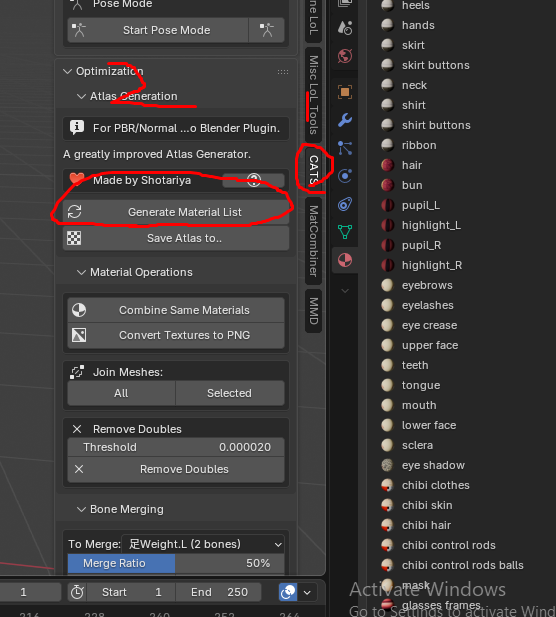
A small issue that'll occur with using CATS is it will automatically add alpha nodes to every material, when the material atlas is done, make sure you remove the old materials and remove the alpha nodes!!!
A whole list should appear now 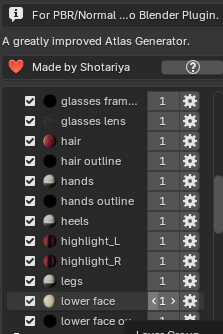
Now ones we know that the materials are there and loaded, why not finish up? Then click " SAVE ATLAS TO..." And select ur destination thats where ur image file with the combined textures will lay in
When thats done Your model should be done, but we arent finish yet.
In some RARE instances , the uv bugs out 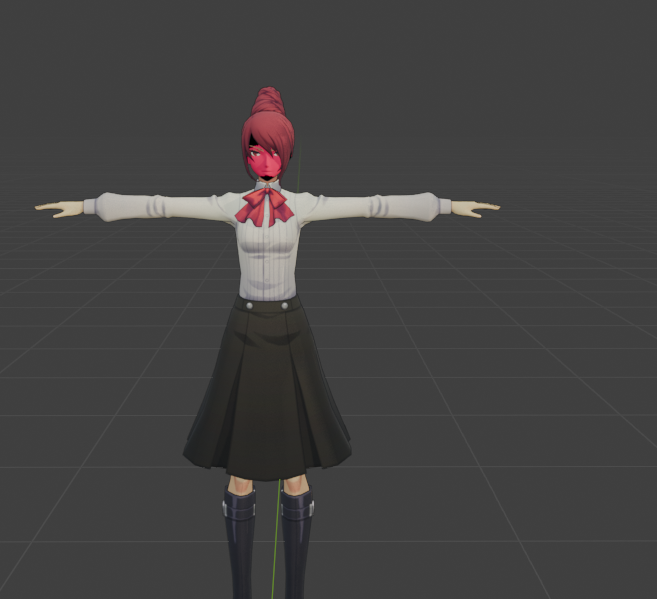
BUT dont worry, nothing a lil uv editing cant fix, Press TAB to go to edit mode, select the messed up areas by pressing L on your keyboard , and then going to uv editing !!!, Then drag them on their correct position, or where they should be !
Alot better dont you guys think? and now look at that, only one material, Now the model can be loaded with just one image file, not 6 or 7
And thats it for material atlases:)
UPDATE: Cats pushed a new update that broke where it looks for materials, The fix is suprisingly simple|
Go to your C:\ drive and create a folder in the root named "textures" Add ur images in them as a PNG file, and thats it.
Tutorial by ceerel